How to setup Mac OS X Built-In Cisco VPN
As an alternative to downloading the Cisco VPN client for Mac OS X, you can also use the built in IPSec version found on your machine. This might be more convenient for those who wish to avoid installing additional software.
You will need an Account in order to access the VPN.
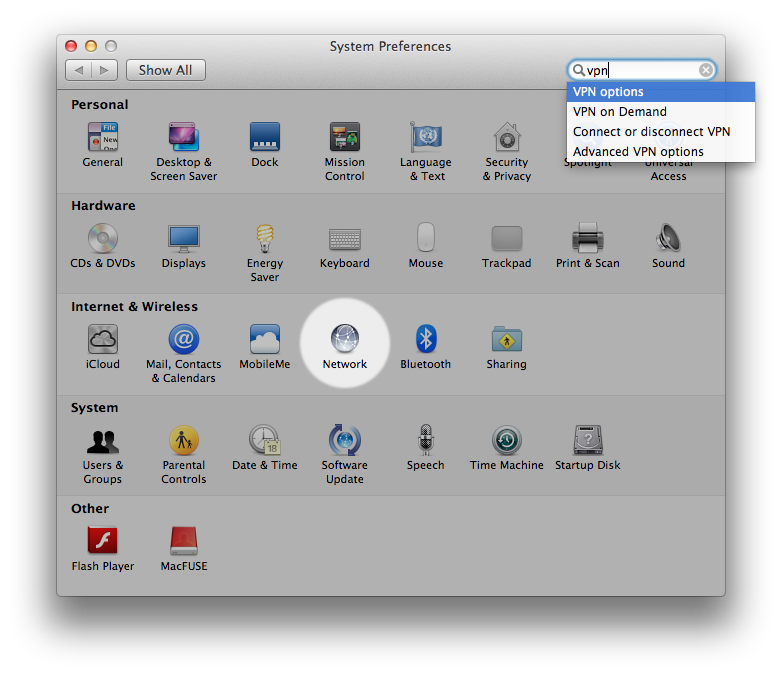
1. Head over to your System Preferences and to the Network Settings.
System Preferences > Network
2. Add a New interface. 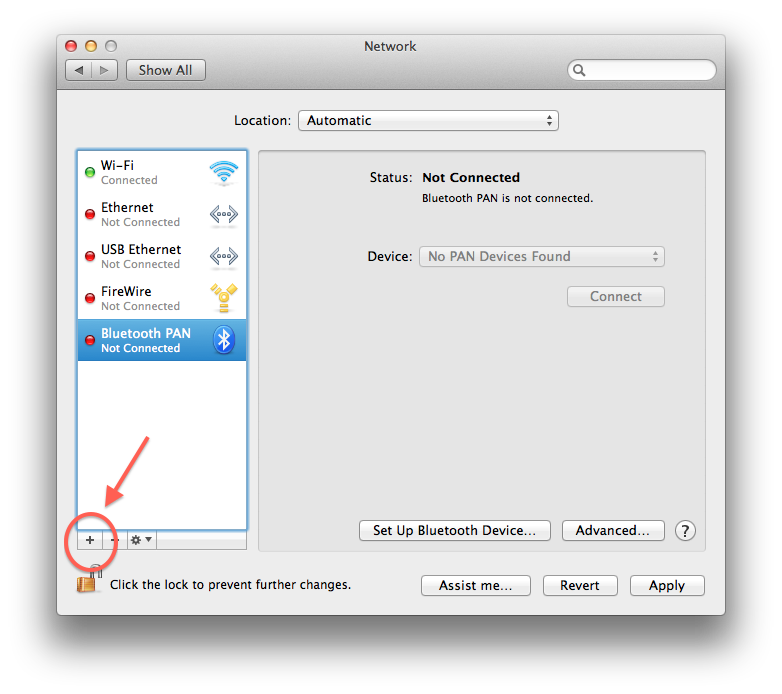
3. Input the following settings:
Interface: VPN
VPN Type: Cisco IPSec
Service Name: This can be anything, I left the default.

4. Edit the new interface details as follows:
Server Address: your vpn server
Account Name: Your vpn account
Password: Your vpn password

5. Click on the Authentication Settings... button as shown above.
Both the Shared Secret and Group Name should be entered as: widevpn

Hit OK and now you should be able to press Connect. This will prompt you for your password and after a successful authentication, you will now be connected to the VPN.