This step-by-step tutorial shows how to setup a IKEV2 connection on Windows 7 and start using widevpn servers.
Step 1. Click on the Start button and select Control Panel.
Step 2. Select Control Panel Home if control panel is set to Classic View.

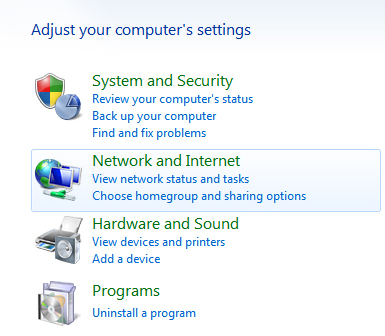
Step 3. Select Network and Internet.
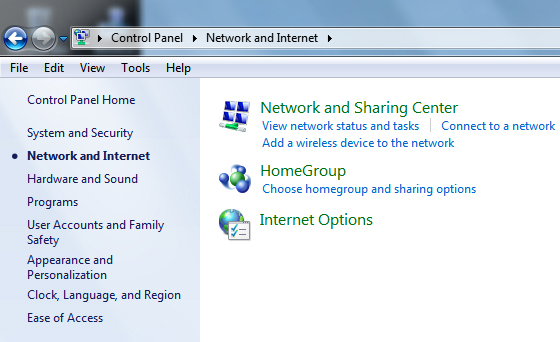
Step 4. Select Network Internet.
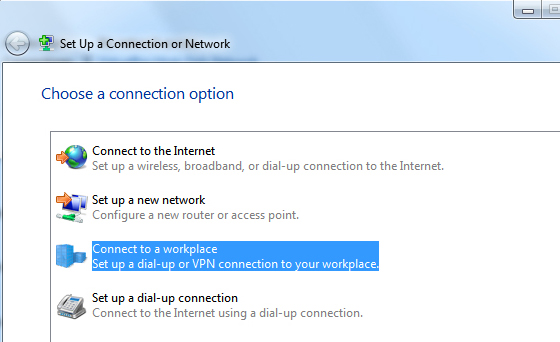
Step 5. Select Set up a new connection or network.
Step 6. Select Connect to a workplace and click Next:
If you are asked to connect to an existing network, select No.
Step 7. Fill in the Internet address field the server's name or IP address to which you want to connect and the Destination name field with widevpn. Select Don't connect now and then press Next. TheInternet address will be different, depending on the package you own. To check all the available servers, please login member aera

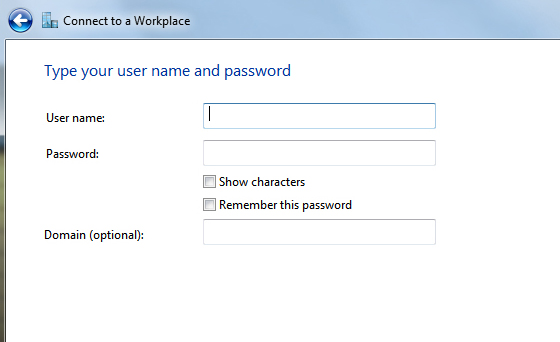
Step 8. Now you fill in your username (Email address)and password (VPN Password)
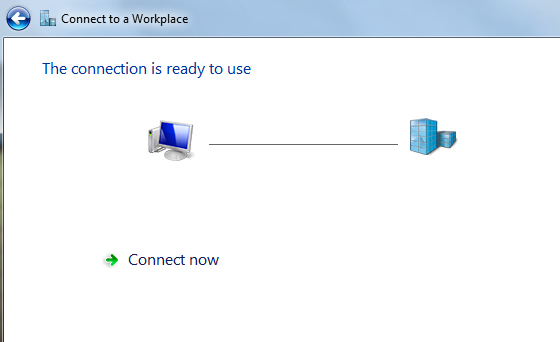
Step 9. Now press Connect Now.
A Set Network Location window may appear. Click Public location.
Step 10. Right clickon the VPN connection (control panel - network-sharing center - Change adapter settings), select Properties and Security tab.
Switch to the tab Security, select Type of VPN IKEv2 and take over the settings from the screenshot. Then click on OK.

Step 11. The connection is ready to use.
To connect/disconnect the VPN connection right click on the connection icon (viewable at Change adapter settings) and select connect/disconnect.